Makita DF030D is a versatile and powerful drill, designed for both professional and DIY use. However, over time, even the best batteries lose their capacity and efficiency. When this happens, you might notice a significant drop in performance, shorter runtimes, and frequent need for recharging.
Upgrading your cordless Makita DF030D electric power tool is a straightforward process. Today AussieBatt share a step-by-step guide to help you through the process:
-
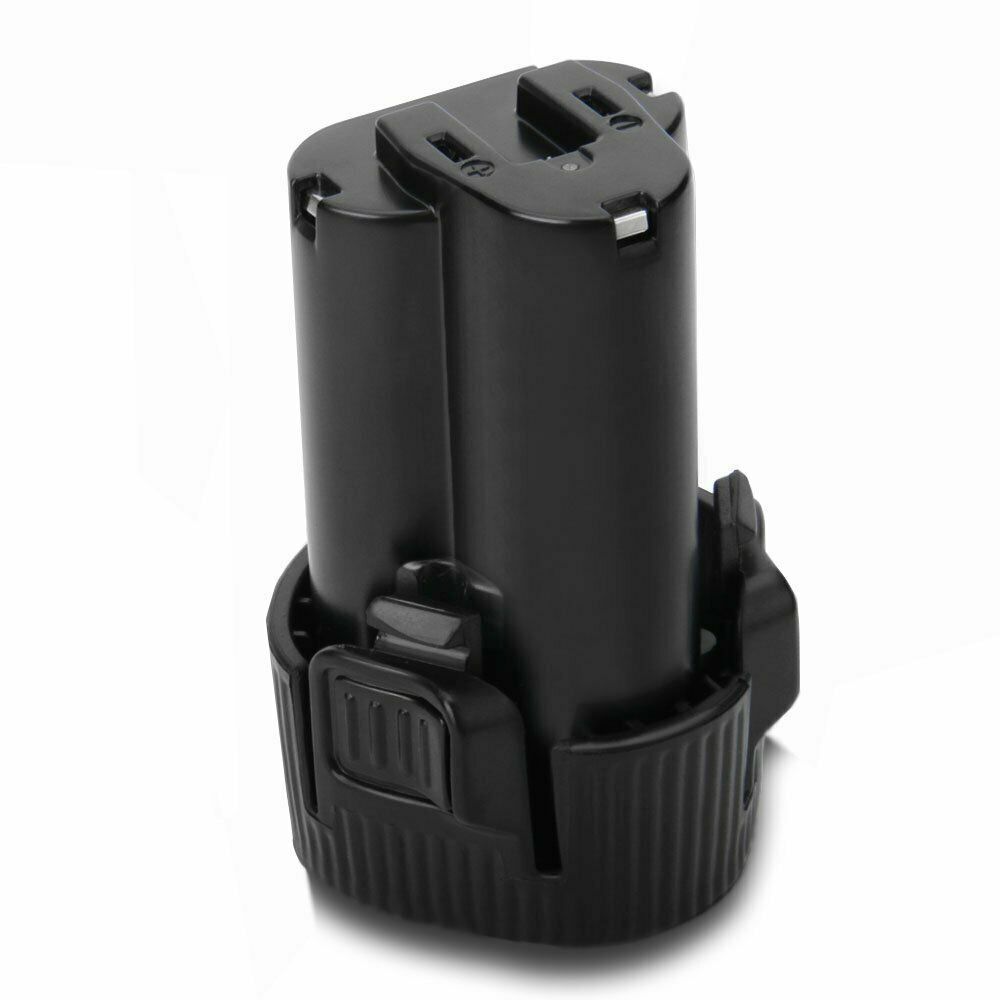
Purchase the Makita BL1013 Battery Replacement:
Start by purchasing the new batteries from a reputable dealer. Ensure you’re getting high quality replacement Makita batteries to avoid any compatibility issues. -
Prepare Your Cordless Drill:
Before starting the upgrade, make sure your Makita DF030D is fully powered off and unplugged from any power source. -
Remove the Old Battery:
Press the battery release button on your tool and slide out the old battery. Be gentle to avoid damaging the tool or battery. -
Install the New Battery:
Align the new Makita BL1014 tool battery with the battery compartment on your Makita DF030D. Slide the battery in until it clicks into place. -
Test Your Tool:
Power on your Makita DF030D and test it with the new batteries to ensure everything is working as expected.
Leave a Reply